For a long time, people who lived in apartments felt left out of the green energy movement. If you do not own a roof, you cannot install solar panels. However, recent changes in 2026 have made community solar for renters a reality for millions of people. This system allows you to benefit from the sun even if you live in a high-rise building or a small studio. Recent updates from the U.S. Department of Energy now make it easier than ever to sign up for these programs.
What is Community Solar for Renters?
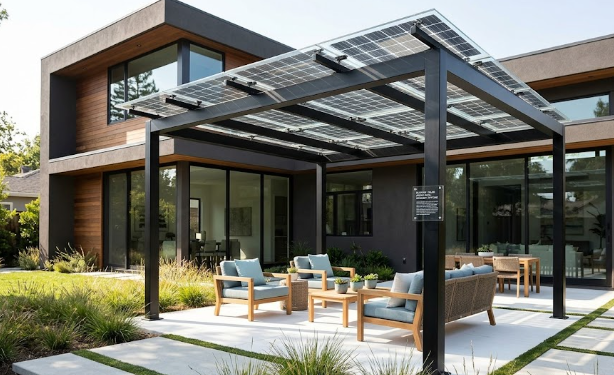
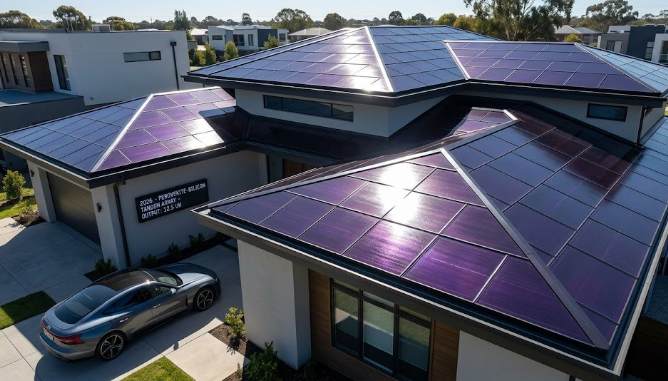
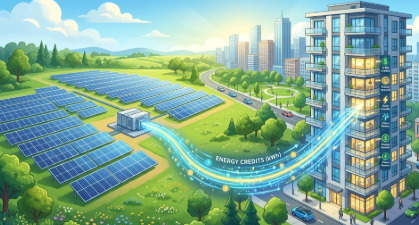
Community solar is a large array of solar panels located at an off-site facility, often called a solar farm. Instead of putting panels on your own roof, you “subscribe” to a share of this large farm. Consequently, you receive a portion of the electricity that those panels produce. This setup is perfect for the 40% of people who rent or live in condos. You simply sign up for a plan, and the clean energy produced elsewhere helps power your life.
The Power of Virtual Net Metering
The most important technical “spec” in this system is Virtual Net Metering (VNM). Normally, a meter on your house tracks the power your roof panels make. With VNM, the utility company tracks the power made by the off-site solar farm instead. They look at your specific share of the farm and then credit your monthly bill directly. For example, if your share produces $50 worth of electricity, the utility company subtracts $50 from your total bill. Therefore, you save money without ever touching a solar panel.
How Community Solar for Renters Uses the 2026 Tax Credit
In 2026, the Federal Residential Solar Tax Credit remains at a peak of 30%. In the past, only homeowners who bought panels could claim this tax break. However, new regulators have changed the rules to favor subscribers. Now, if you participate in community solar for renters, you can often claim a portion of this 30% credit on your taxes. This change makes subscribing to a solar farm just as financially rewarding as owning your own system.
Battery-as-a-Service and Shared Energy Storage
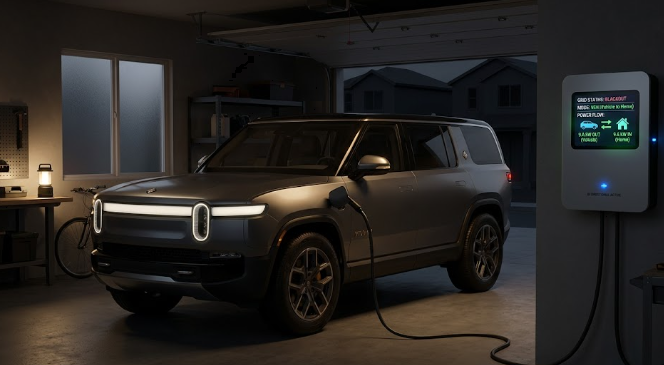
Many new community projects now include “Shared Mega-Batteries.” This is often called Battery-as-a-Service. These massive batteries store extra energy during the day when the sun is brightest. Later, the system releases that power during the evening when electricity prices are usually higher. Because of this, subscribers can avoid expensive “Time-of-Use” rates. Even if you live in a tiny apartment, you benefit from industrial-grade energy storage technology.
The Rise of Solar-Inclusive Leases
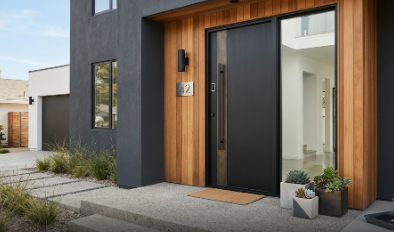
The real estate market is changing because of community solar for renters. Many landlords in big cities now offer “Solar-Inclusive Leases” as a premium feature. In this scenario, the property owner handles the solar subscription for the entire building. They then market the units as “Zero-Carbon Living” spaces. This is a great deal for tenants because it simplifies their bills. Furthermore, it increases the value of the property for the landlord.
If you want to find a program near you, check your local utility website for available solar farms. For more technical details on how energy credits are calculated, you can read more about solar energy programs at the Department of Energy website.
References
- U.S. Department of Energy. (2026). Expanding Access to Community Solar for Renters and Multi-Family Housing.
- Federal Energy Regulatory Commission (FERC). (2026). Guidelines for Virtual Net Metering and Off-site Credits.
National Renewable Energy Laboratory (NREL). (2025). The Economic Impact of Shared Battery Storage in Urban Environments.